Developing Guide
This guide will provide instructions to install the development environment needed to compile and debug the demo firmware for the FRDM-K82L. The development system is multiplatform, it supports Windows and Linux. This guide is written using Windows. The main steps are:
- Install Kinetis Design Studio 3.2.0
- Build & Install KSDK 2.0 for FRDM-K82F board
- Import & build the source project
Install & Update Kinetis Design Studio
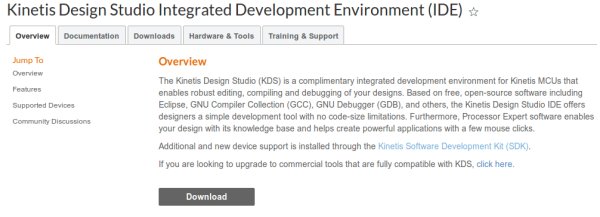
- First up, register at the NXP website registration form then you can download the IDE from this page. Press on Download button.
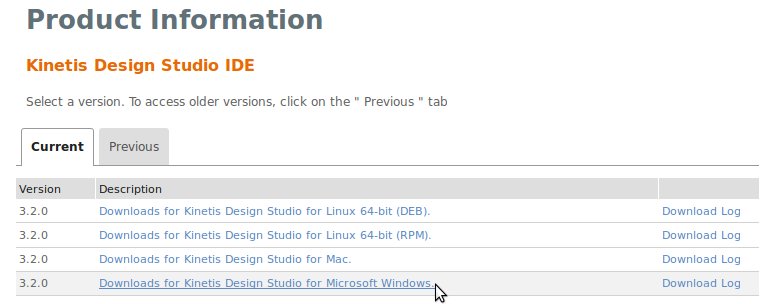
We used Kinetis Design Studio 3.2.0, press on Downloads for Kinetis Design Studio for Microsoft Windows.
Agree the terms and download the file Installer: Kinetis Design Studio 3.2.0 Installer for Windows.
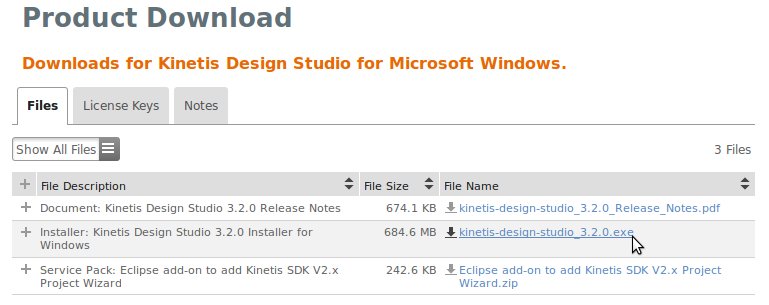
Next, run the downloaded file kinetis-design-studio_3.2.0.exe following all the default options.
- Now we have to download and extract the KSDK 2.0 for the FRDM-K82F board. We will build the SDK through this website: nxp website. Click on Build SDK. You have to register in order to use this feature.

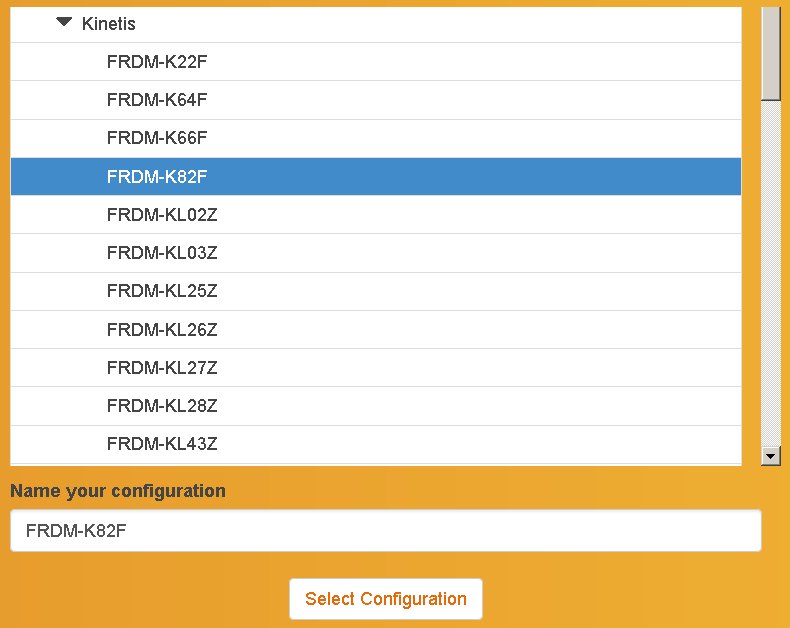
Will appear a list of boards, select the FRDM-K82F
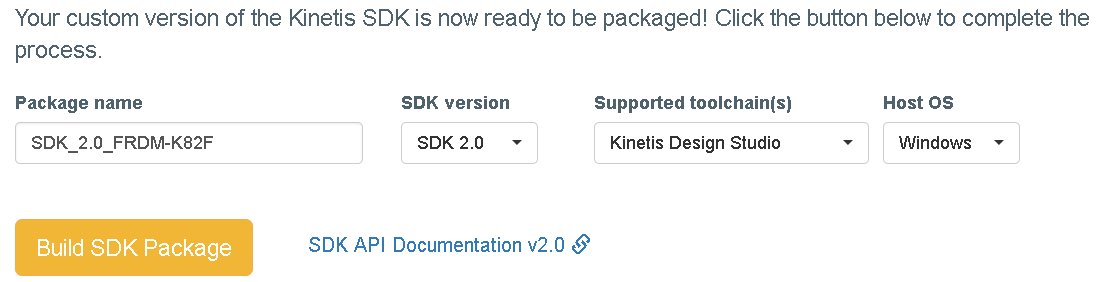
Now it is necessary build the SDK package before to download. Click on Build SDK Package.
From the Software Vault link you will see the message Pending download approval. You have to wait some minute.
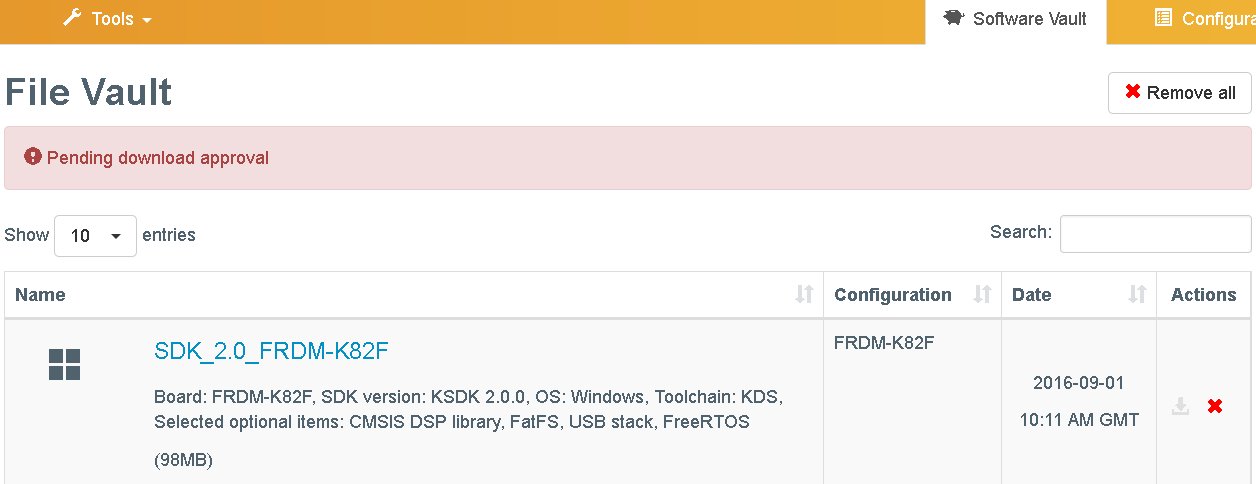
After the approval phase you will can download the SDK built. Accept the terms and download the evNXPv01.zip file.

Build the Project
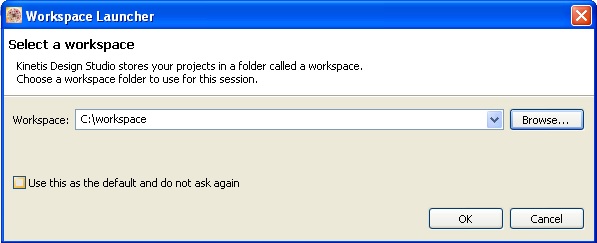
- Launch KDS and select a directory for the workspace. Our project will be imported in this folder. In this guide we used this path:
Follow next steps:
- Unzip the evNXPv01.zip file into the workspace creating a new folder named SDK_2.0_FRDM-K82F.
- Download the sources of the DEMO_usb_device_video_flexio_ov7740 going here
- unzip it in the folder UNIT:\[YOUR PATH TO]\workspace\SDK_2.0_FRDM-K82F\boards\frdmk82f\demo_apps.
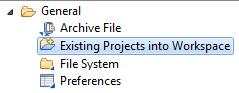
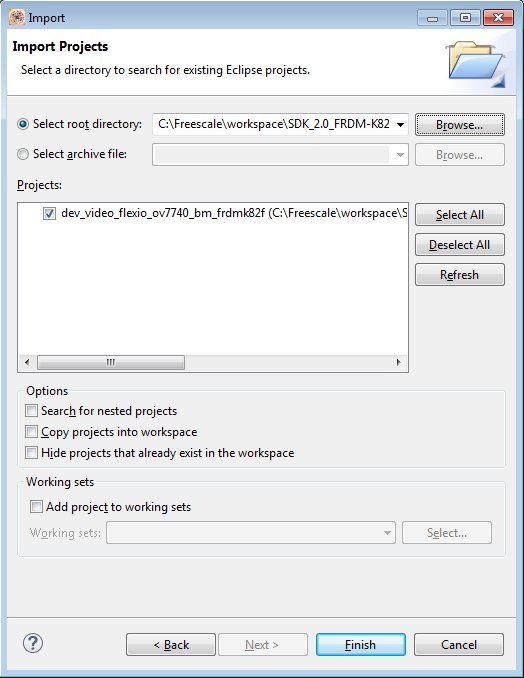
3. From the Kinetis Design Studio select File -> import. Then choose General -> Existing Projects into Workspace
- In Select root directory, click on Browse and select the path:
UNIT:\\[YOUR PATH TO]\\SDK_2.0_FRDM-K82F\\boards\\frdmk82f\\demo_apps\\DEMO_usb_device_video_flexio_ov7740The project should be automatically detected and selected.
- Click on Finish.
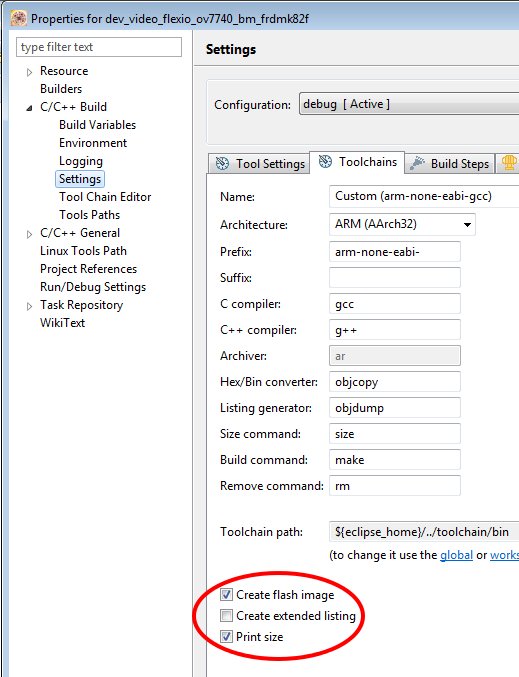
Before to build it’s necessary setup the configuration of the project to create the hex file to upload in the board.
- Click on Project -> Properties
- select C/C++ Build -> Settings
- click on the Toolchains tab, then check the options Create flash image and Print size.
- click on Apply
- After select the Tool Settings tab
- click on Cross ARM GNU Create Flash Image -> General
- choose as Output file format the Intel HEX option.
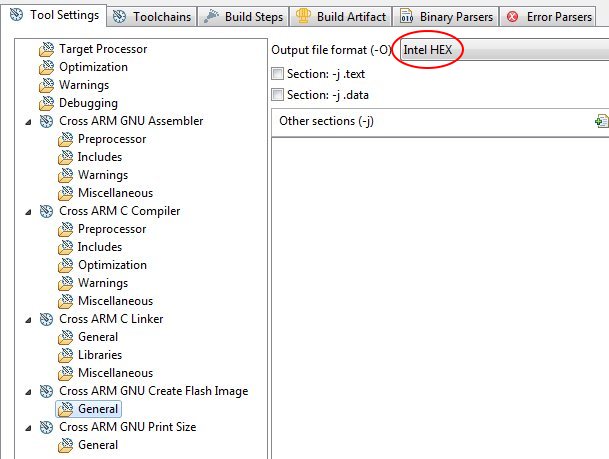
- click on Apply
- Apply the modifies clicking on Ok button
- build the project selecting Project -> Build All.
In UNIT:\[YOUR PATH TO]\SDK_2.0_FRDM-K82F\boards\frdmk82f\demo_apps\DEMO_usb_device_video_flexio_ov7740\bm\kds\debug folder you will find your hex file: dev_video_flexio_ov7740_bm_frdmk82f.hex.
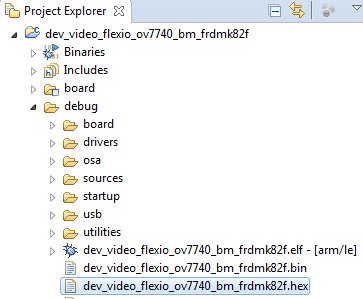
- The dev_video_flexio_ov7740_bm_frdmk82f.hex file is the firmware demo uploadable in the FRDM-K82F, it is used in Quick Start Guide